Hoffman Reproductions. Click here for source posting.
You Trekkers will need a way to carry all of your survival equipment when heading out seeking fortune and adventure.
Hoffman Reproductions: In researching 18th Century methods of carry, I found some videos from Hoffman Reproductions, a small company producing accessories for the historical trekker.
"...The Snap Sack was an easy to carry and use shoulder worn pack commonly carried by both soldiers and civilians alike to haul extra gear and equipment. Measuring 23 inches long by 11 1/2 inches wide our Snap Sack consists of an outer layer of fustian a fabric that is made up of a mix of cotton and linen (available during the 18th century) and a lining made of 100% linen. It has a 1 1/4 inch vegetable tanned leather strap which adjusts from 27 1/2 inches to 35 inches. Strap carries a hand forged iron buckle. The top of our sack can be tied shut with a hand braided sewn in place hemp cord . The entire sack and strap has been cut out and completely sewn by hand using heavy duty linen thread. The outer material has been dyed with copperas and walnut hauls to produce a period correct tea stain brown color. A great light weight pack to carry all your extra gear..." *
Advance to 5:45 to get straight to the snapsack.
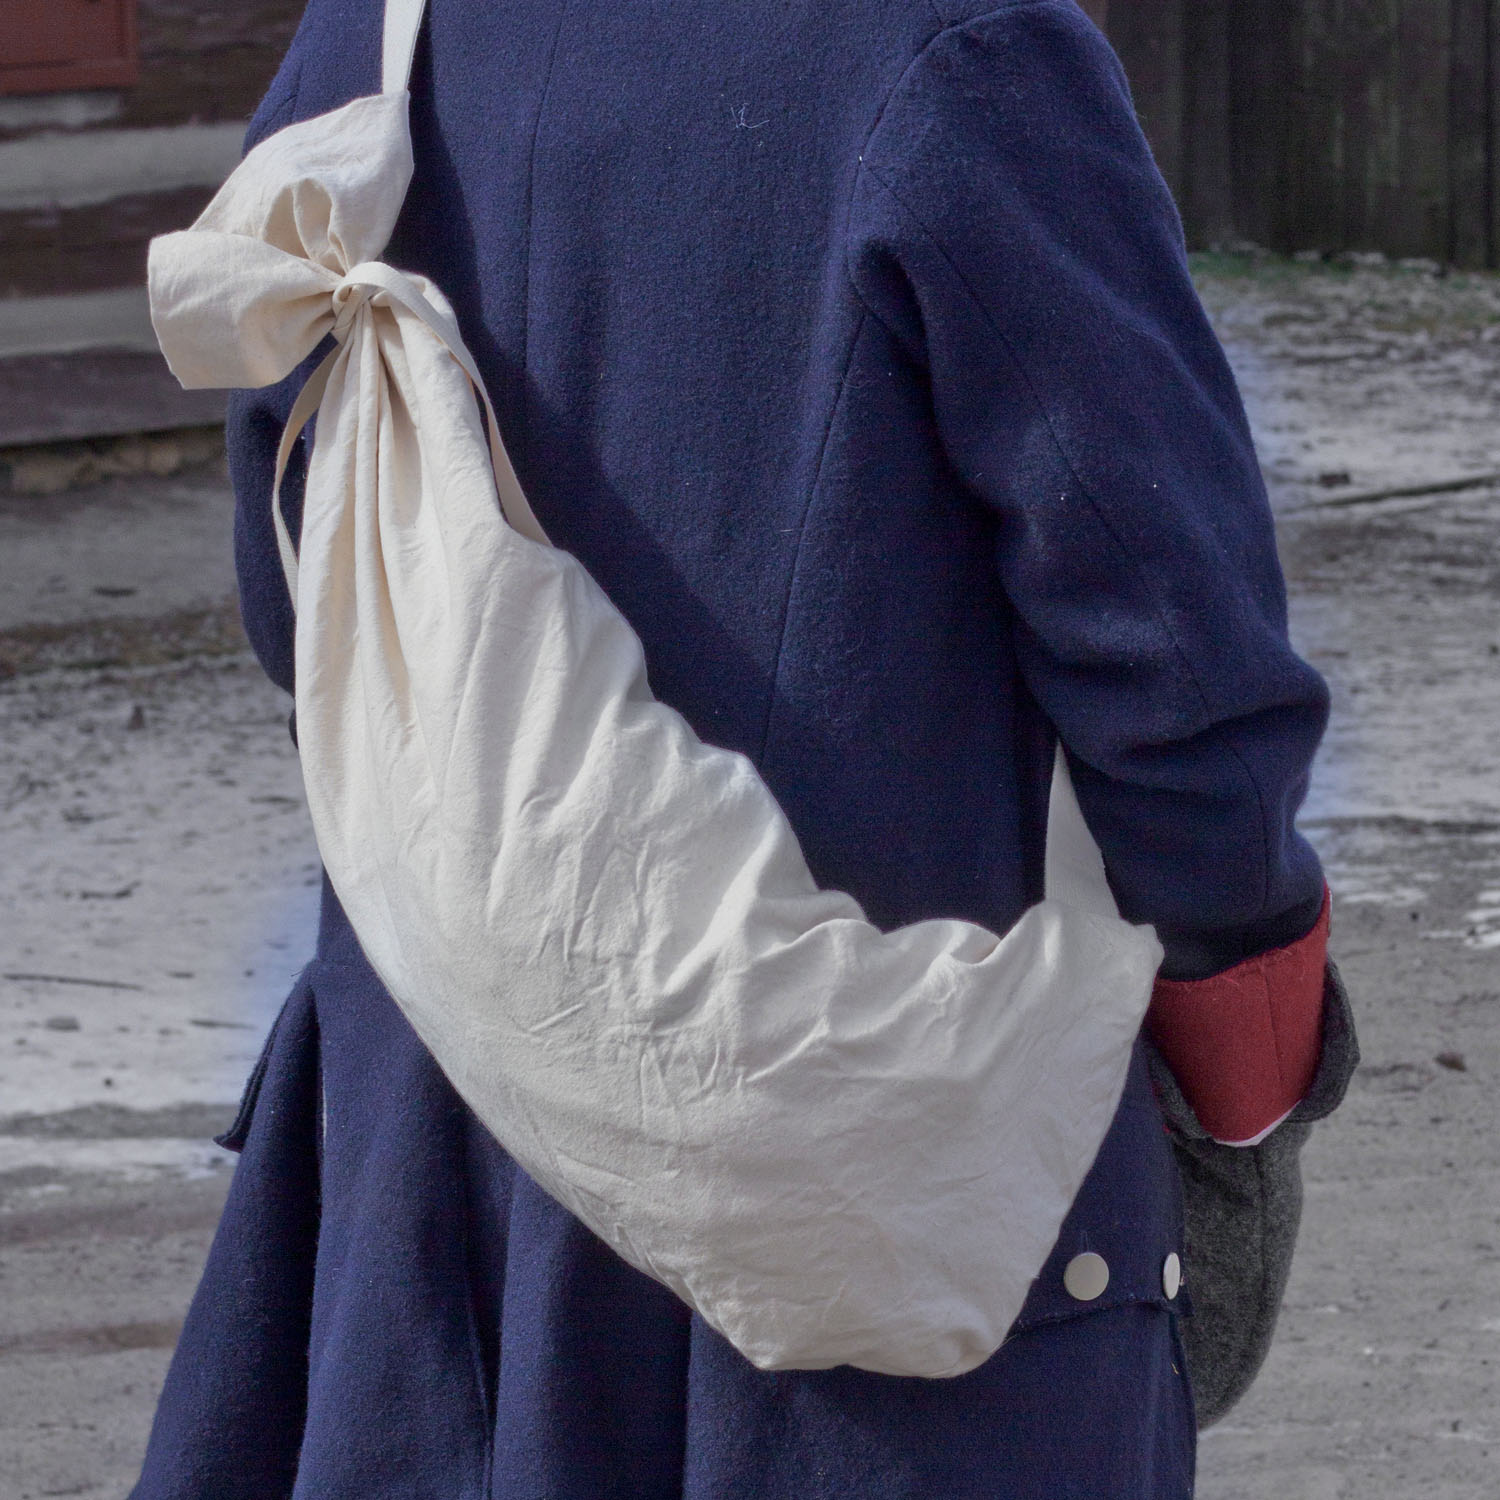
The typical snapsack style is a tubular bag carried by an attached strap. The bag is carried across the back. The type of strap can be a plain heavy canvas strap, woven hemp, leather, or whatever the user desires. Military snapsacks were made of leather with a leather strap and a metal buckle in the strap. Civilian styles were typically heavy linen or sailcloth (canvas) and may have had a plain woven or multilayer canvas strap, with or without a buckle.
The tubular bag itself can be made either as a single opening bag with one full-length compartment, or divided into two compartments by adding a divider to the pattern. In either case, a simple drawstring that gathers the end of the bag tightly enough to prevent items from falling out makes the typical closure. History: This pack is documented to the early 1600’s. It’s simple design was used by both the British and French Armies well into the 18th Century. The Snapsack is a simple canvas tube that is secured at each end and carried by the use of a stout 3" leather Tumpline Strap. Often referred to in journals as a Country Pack. The finished size is 18" X 30. This version is very correct and is only one of many variations on a theme that were universally used in the American Colonies. The version that will be detailed here is slightly different, but will be easily made by an individual with moderate sewing skills and a little time.
If you can’t use the links provided to get copies of the instructions and patterns, simple relational information will be given here. The entire post can be read by clicking on this link.
In the directions below, the material for the body of the bag is a 24" x 36" piece of material that when turned so that the long side is horizontal, has the A to B line along the top and the C to D line along the bottom. With the material arranged in this fashion, the A end is the left end and the B end is the right end.
Make Your Own Snapsack
1. The snapsack can be made of bag leather, coarse woolens, tow cloth. or other sturdy goods. Cloth bags are typically made of 16 oz. linen canvas or similar cotton canvas. You will need a piece 24 x 36 inches for the bag and a piece 6 to 8 inches wide and 26 to 32 inches long for the strap.2. Fold end "B" 1" upon itself and hem.3. Fold end "A" 2 inches upon itself, and after folding the raw edge under 1/2 inch, hem. This will finish the mouth of the bag.4. Fold the bag so that the finished (no seams) sides are together. Folding the raw edge under 1/2 inch, overlap the fabric 1 1/2 to 2 inches and sew from C to D (or A to B). This is the top of the bag. Fold the remaining raw edge under at least 1/4 inch and sew the other edge of the overlap down to fell the seam. This is where you can adjust to insure that your strap will fit into it’s intended channel.5. Sew the B-D end together so that the end of the bag is curved starting at a point about 6 inches from the end of the bag. The curve should have an even radius up to the point where it intersects the end seam of the tube. Trim off the excess material and blanket stitch the inside seam to keep it from unraveling. NOTE: DO NOT sew the overlap on the top closed! You’ll want it open to insert your strap. Turn the bag right side out.6. Make a strap for the bag. If you are going to make the strap out of the same material as the bag (canvas, for instance), cut a piece that is 4 times as wide as the finished strap needs to be (6 inches for a 1 1/2 inch strap, 8 inches for a 2 inch strap), and 26 to 32 inches long (depending on chest size). Fold the strap material in quarters lengthwise, and stitch down each side to fell the seam and opposite edge.7. Insert one end of the strap into the opening left at the top seam of the B-D end of the snapsack. Insert 3-4 inches of the strap and sew across the strap in 2 or 3 places for strength. It is recommended that you stitch across the strap at it’s end and at the end of the bag, down both sides of the strap and then stitch an X across the diagonals of the box you just sewed.8. Insert the other end of the strap into the wide felled seam at the mouth end of the bag. This is where you will make any adjustments for length. Remember that the bag will fit differently when it is filled, and will require more strap length if you intend to wrap your blanket or ground cloth around it. Heaver winter clothes will require more room, too. Stitch the strap in using the same method described on the previous end.9. Using a large (approximately 1/4 inch) leather punch, punch a series of 12 to 18 holes, regularly spaced around the mouth of the bag in the area where the fabric is doubled. Keep the holes the same distance in from the mouth. The two end holes should be right next to where the strap is stitched into the bag along the top. It is recommended that you stitch around the holes using a buttonhole stitch to prevent the holes from unraveling.10. Thread a leather whang or small piece of hemp rope through the holes to use as a drawstring. Tie a knot in each end of the drawstring so that it can’t pull back through the holes. When the drawstring is pulled tight, the bag closes up very tightly, like an accordion. Tie an overhand knot in the drawstring and your gear can’t fall out.The Snapsack In The Field: "Wear the bag by passing the strap over your head with the closed end at your right shoulder and the left end hanging just behind your left elbow. Snacks and frequently used gear can be placed just inside the mouth and easily accessed when needed, even while on the trail with the bag on.
When used as part of my kit, I wrap my blankets and tarp around the bag after it’s stuffed with my extra clothes and food. I typically carry my copper kettle (stuffed with bags of cornmeal and barley or oats to prevent rattling), my tin cup, and any other items that won’t fit neatly into my haversack in the snapsack.I have found that with a little practice (I’m sure that folks in the 18th century practiced walking a lot!) it’s easy to carry a good load of food, blankets, and all the other necessities in my snapsack very comfortably.Although not as comfortable and convenient as some of the later designed bags, the snapsack provided a practical and versatile method of carrying the necessities of travel and warfare for almost two centuries. There must have been something about the concept that our ancestors found useful."**
Available For Sale: Townsends stocks a simple snapsack at a reasonable price. It measures 11” at it’s widest spot by 32” long. The shoulder strap is durable cotton webbing made adjustable with a double-D brass buckle.
* Hoffman Reproductions Source Document can be found here.